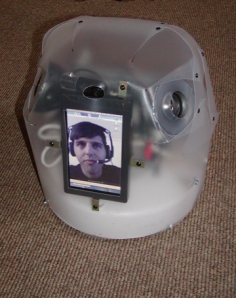
Sparky uses a Mac Mini and LCD
Over the years, Sparky has gone through many changes and upgrades. The current version uses a Mac mini and Lilliput headrest LCD monitor. At first these components were powered by a small 12v. lead acid battery connected to a DC/AC inverter, but here’s a simple hack for running a them both directly from a lithium ion battery pack. Since the Mac and battery both run on DC power, this hack eliminates the DC/AC inverter and the Mac’s brick-sized wall wart. And the Li-Ion battery is a fraction of the size and the shaves more than 7 lbs. of the robot’s weight.
The new battery is a Digipower, 4.4Ah universal laptop battery from Radio Shack. It comes with a charger and a bunch of adapters for different laptops, cellphones and PDA’s. It offers a choice of 16 or 19 volts out, as well as a standard 5 V USB port. The Mac Mini requires between 14 and 18 V. and is easily powered from the primary power out, but the monitor is designed to run on 12 V A little probing on the battery’s internal circuit revealed an onboard 12 v. source, but getting that 12 V. power to the monitor would likely require a hole cut into the case and some sort of adapter hanging out, unless we opted to use the USB out to power the 12 V. monitor.
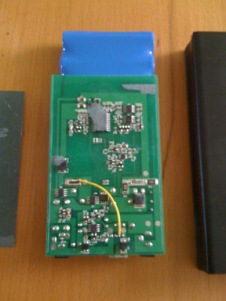
Jumper wired added to battery
This part of the job was much easier than we originally thought, requiring little more than splicing a single jumper wire on the battery circuit board. This choice comes with a BIG WARNING however. USB uses a 5 V power standard. Rewiring the USB for 12 V. means it will instantly DESTROY any and all USB devices plugged into it. It is ONLY to be used as a power source for this 12 V. monitor. It is highly recommended that you clearly label this USB port so that it doesn’t become a iPod killer or worse.
The only other part of the job is splicing Molex connectors to the Mini’s Power cord and RCA connectors to the monitor. We added connectors to both the original and the new wires so the robot can switch back and forth between the two batteries in just a minute.
Why Molex and RCA connectors? Two reasons. First, both connectors are designed to work reliably over and over, and second, I already had them lying around.
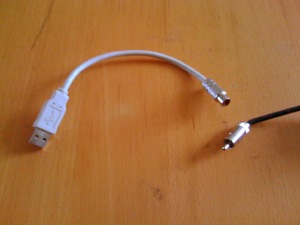
RCA spliced into USB for LCD power cord
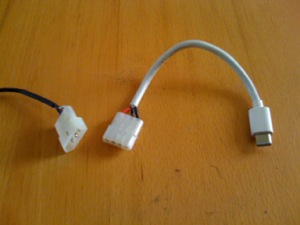
Molex spliced on Mac's power cord
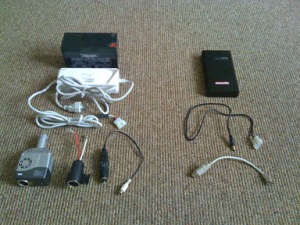
Lead acid vs. Li-Ion
In a somewhat scientific head-to-head test of both battery systems, we put them each on Sparky in full running mode. The original lead acid edged out the Li-ion with a running time of 1:35 to 1:10.
These results are pretty close to each other considering the lead acid is rated at 7Ah and the Li-ion is rated at 4.4Ah.
We also discovered that the Li-Ion runs a bit hot, so Frank suggested cutting a hole in the case, adding a 40mm fan and running it directly from the battery internally – the fan can be powered off the USB’s original 5 v. source, so it’s a fairly straight forward modification. I’ll update this post when I have pictures of that.


